A long time ago I also built rifles. This is a Remington M40 clone. It took many man years to put this guy together.
From a post I made a long time ago detailing the build:
Some time ago I decided that my collection needed a Remington M40. After all, it’s the rifle Carlos Hathcock, Adelbert Waldron and Chuck Mawhinney used during the Vietnam war! As many of you gun owners know. Once you set your heart on something, it’s all you can think about until you obtain it. So was the case with me, little did I know that this project would take well over a year.
To begin with, little is known about the Remington M40. It was first produced for the USMC during the Vietnam war and is based off of the Remington 40X action. The Remington 40X for those not familiar is the ‘custom’ or ‘target’ version of the model 700 that the Remington custom shop produces. Most of what is known about the M40 comes from Peter Senich’s book The One-Round War and from the few surviving rifles that are left. So with this information I set out on my journey.


A parts list was extrapolated from Senich’s book and compiled on a snipershide thread, I used this as my proverbial bible when acquiring parts.
- Stock
- Walnut, Sporter-type w/ integral cheek rest (Monte Carlo cheekpiece).
- ADL type w/ 5-round BDL-type magazine.
- No fore end tip or grip cap.
- 13-3/8″ Length of pull (factory standard)
- Factory aluminum floorplate
- No checkering
- ~~~~~~~~~~~~~~~~~~~~~~~~~~~~~~~~~~~~~~~~~~~~~~~~~~ ~~~~~~~~~~~~~
- Barrel
- 7.62mm (.308)
- Remington Varmint Weight & Contour (aka “medium weight”)
- 1-10 Twist
- 24″ Length
- .830 Muzzle Diameter w/ Flat Crown
- Stamped “7.62 NATO” only AFTER being rebarreled at depots.
- ~~~~~~~~~~~~~~~~~~~~~~~~~~~~~~~~~~~~~~~~~~~~~~~~~~ ~~~~~~~~~~~~~
- Action
- Remington 700 Short Action
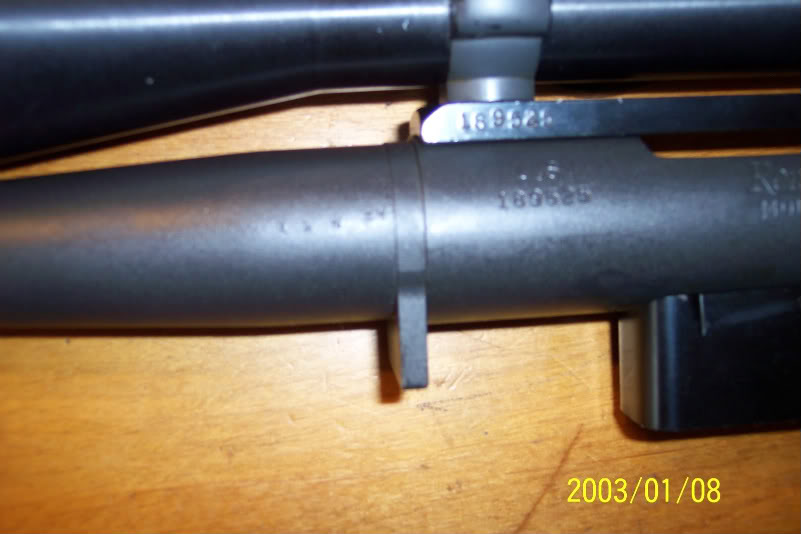
- Serial Range 168,179 — 322,769
- Marked “U.S.” above the serial
- Standard recoil lug
- Clip Slotted
- ~~~~~~~~~~~~~~~~~~~~~~~~~~~~~~~~~~~~~~~~~~~~~~~~~~ ~~~~~~~~~~~~~
- Scope(s)
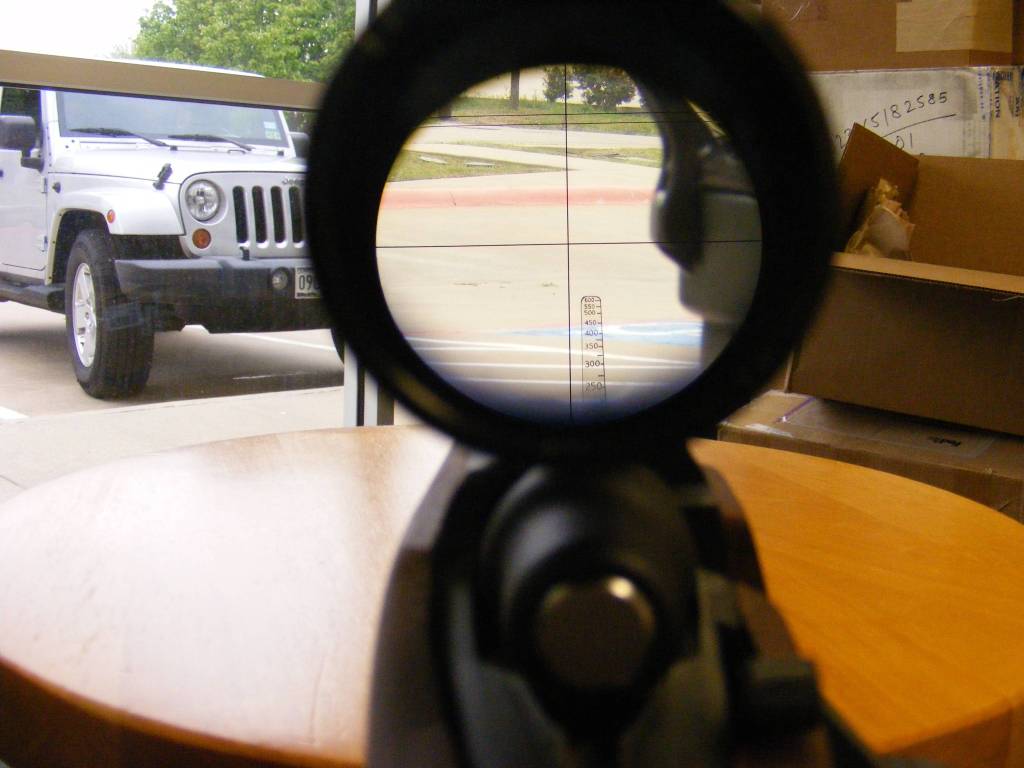
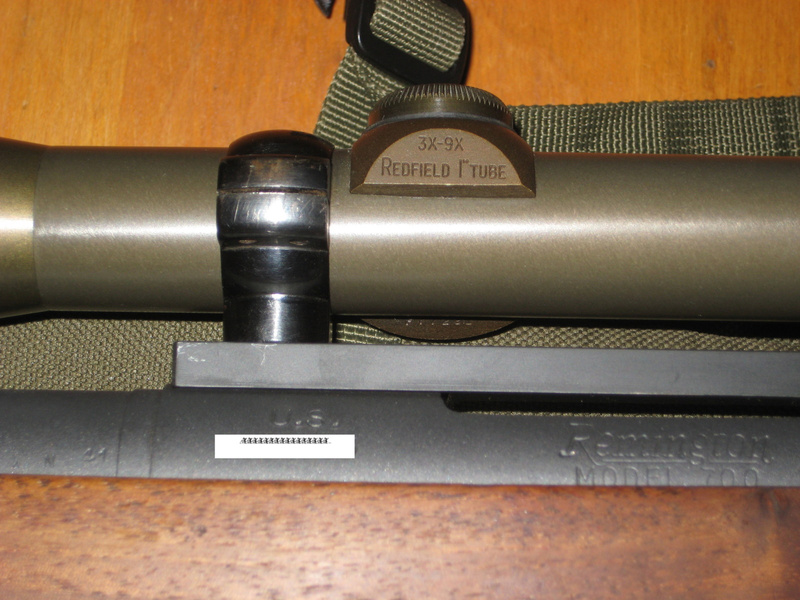
- 1st Gen. Redfield Accurange 3x9x40
- Marked “3x-9x Redfield 1″ Tube”
- Utilized the “tombstone” rangefinder from 200-600 yards.
- Fine Crosshairs
- Anodized Green finish
- electro penciled with full rifle serial number
- 2nd Gen Redfield Accurange 3x9x40
- Marked “3x-9x Redfield”
- Utilized the “tombstone” rangefinder from 200-600 yards.
- Fine Crosshairs
- Satin Black finish
- electro penciled with full rifle serial number
- ~~~~~~~~~~~~~~~~~~~~~~~~~~~~~~~~~~~~~~~~~~~~~~~~~~ ~~~~~~~~~~~~~
- Finishes
- Barreled actions were parkerized (green).
- Bolt was given a black oxide finish.
- Stock dull oil finish. (Achieved with boiled linseed oil)
- Redfield Base & Rings blued.
- ~~~~~~~~~~~~~~~~~~~~~~~~~~~~~~~~~~~~~~~~~~~~~~~~~~ ~~~~~~~~~~~~~
- Base, Rings, Sling, Swivels
- Redfield 40X Base (part# 511153),
- marked 40x on bottom, notable square corners
- Full rifle serial # electro penciled on left side.
- Redfield 1″ Low Rings (part# 523503)
- Marked on bottom “1-64” or “1-66”
- Sling Green Web MRT or Leather MRT
- Wichita Sling Swivels, non-detachable, 1 1/4″
- ~~~~~~~~~~~~~~~~~~~~~~~~~~~~~
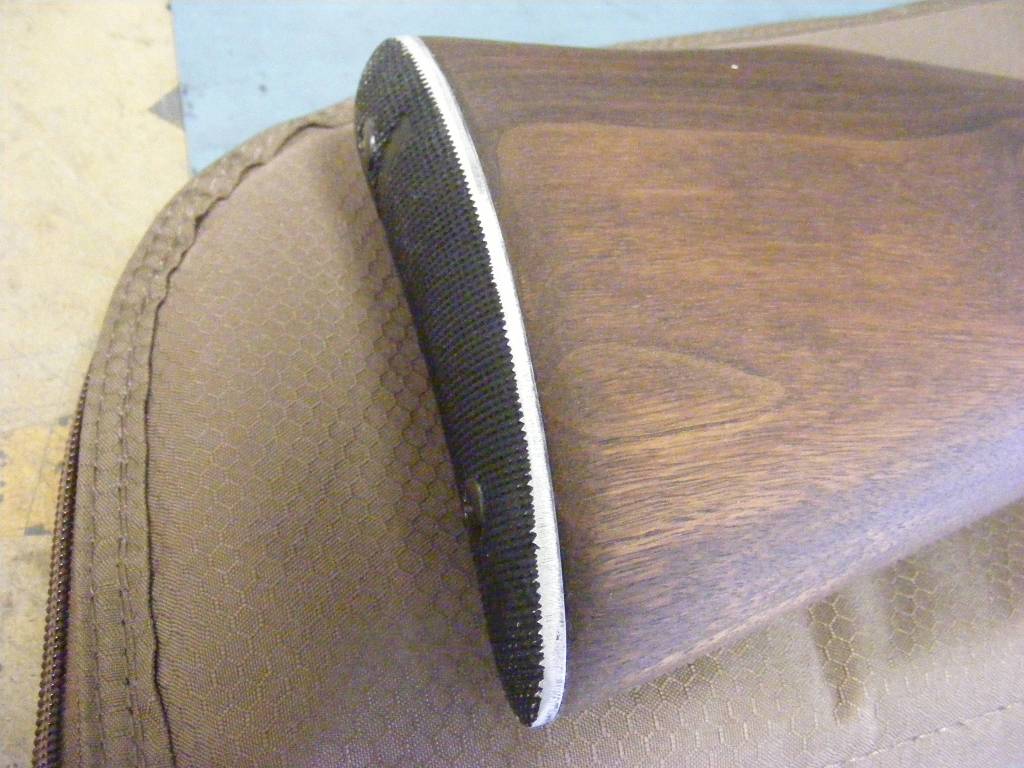
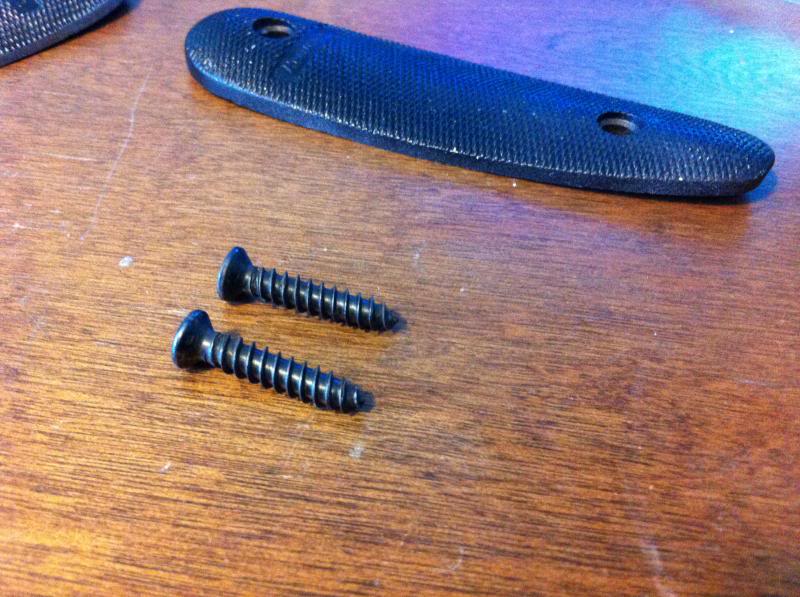
So as anyone with little to no money, I bought the first part for this rifle about 1.5 years ago. It was the buttplate and screws. (These pictured are from another build, but you get the idea.) These turned out to be the easiest thing to acquire for the whole set up. The next step was endlessly searching for the scope rings and base. This proved to be quite difficult. Evidently vintage 1960’s optics accessories are not as prevalent as you would think.
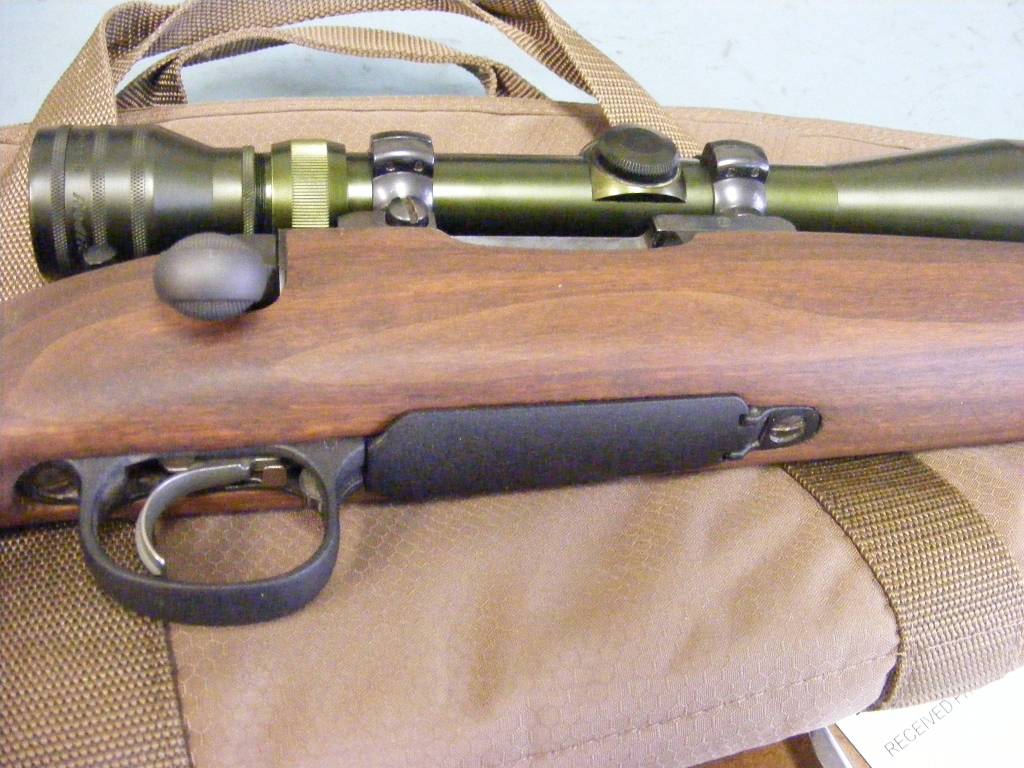
The M40 was issued with a Redfield 40X SA part no. 511153 scope base. These are a true unicorn in the gun collecting world. Marty over at Badger Ordnance has produced some reproduction bases and rings; but, for me I wanted as close to the real thing as I could get given my budget. Eventually I happened across a Redfield 700SA scope base as seen here, on a real M40 and leaped at the chance (field repairs were made using the 700SA scope base.) The scope rings were an entirely different ordeal. Originally they used Redfield 1″ low rings part no. 523503 and were marked 1-64 or 1-66 on the bottom. I looked and looked for these and was on the verge of giving up when a nice gentleman on snipershide messaged me asking if I’d found any rings yet and offered to sell me his extra set. I was overjoyed to have to optics accessories finished.
The scope
This was an absolute bitch. M40’s were orignally issued with a Redfield Accurange 3-9x scope. The 1st gen scopes were used early in the war. The one pictured is of an actual USMC issue Accurange. One of these scopes sold recently for over $4000. The 2nd gen scope was made from the Redfield Accurange 3-9x and had a matte black finish. The 2nd gen’s were slightly updated from the 1st gens and I’ve heard that the 2nd gens are much easier to work on and repair.
Gen 1


Gen 2
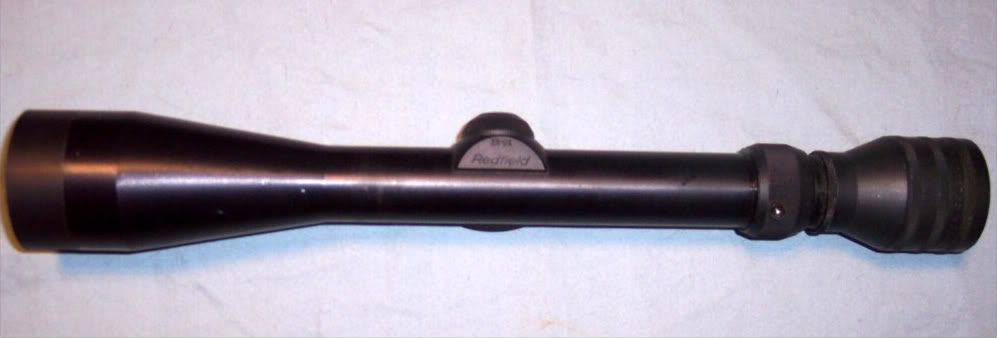
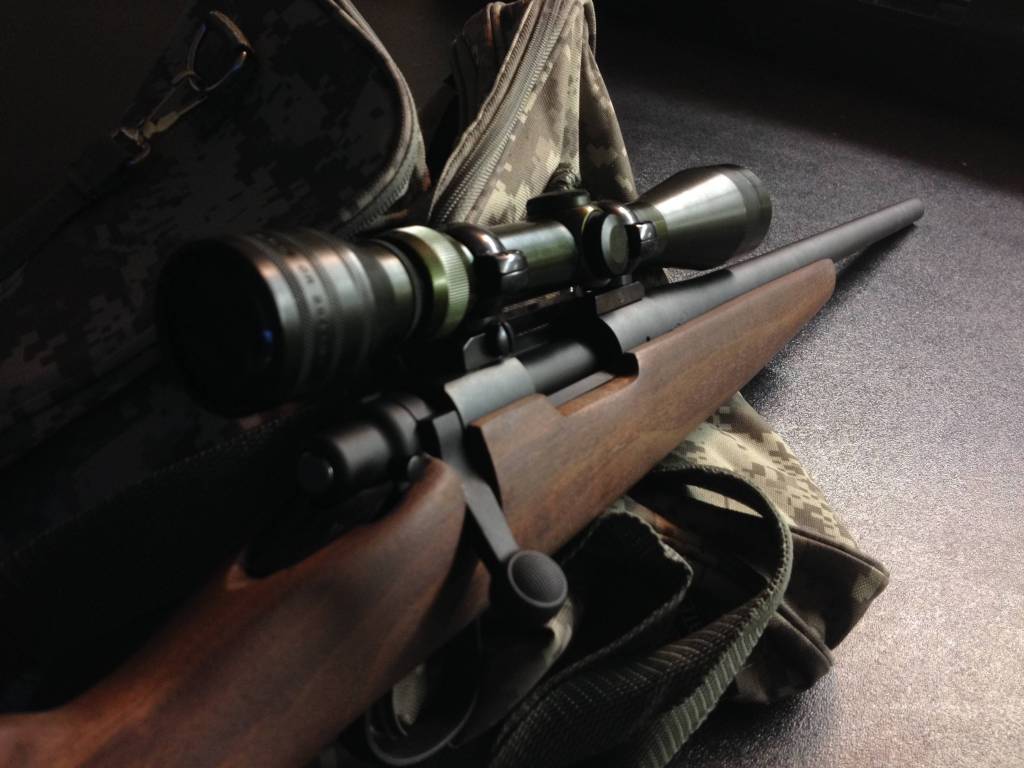
So I read eBay everyday for about 8 months and finally found an Accurange that would have been from the Gen 1 era. It was still in the commercial gloss black, but I had a plan. A man on snipershide had taken up the hobby of anodizing these old scopes to what would be their original issue color. A few hundred bucks and a few weeks later I had my scope back from him and it looked wonderful.
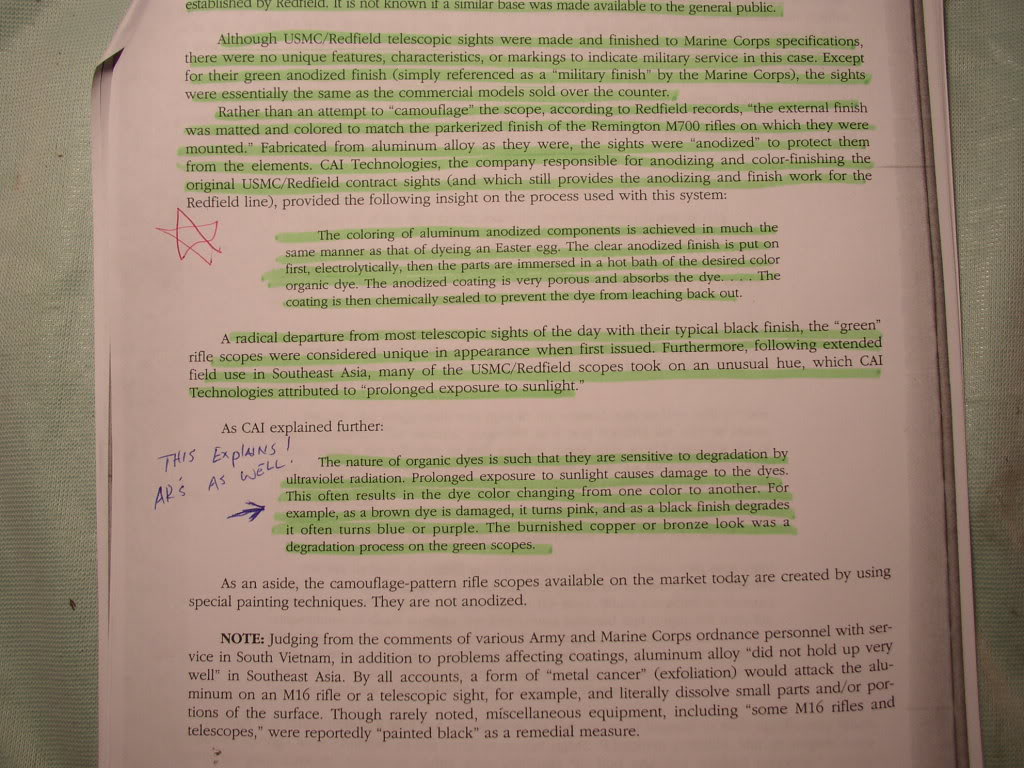
Note: The green scopes have a strange almost bronze patina to them. This is done overtime and via sunlight exposure. According to CAI this is normal. This snippet from Senich’s book explains the aging process.
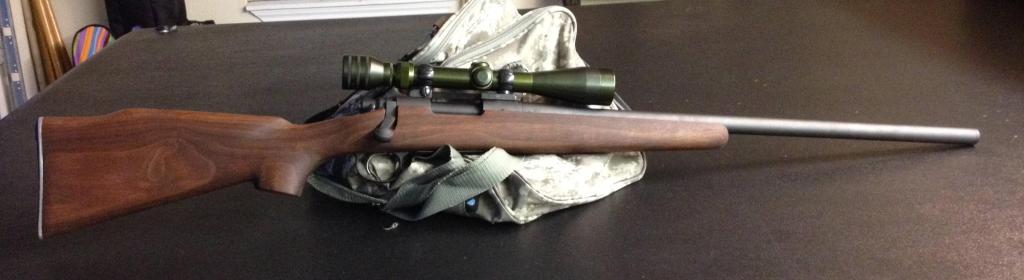
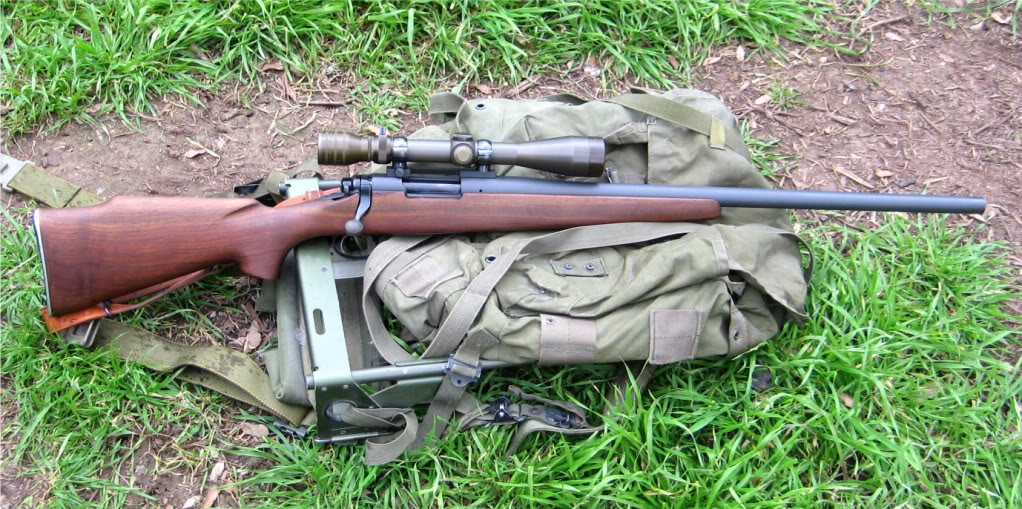
With the scope done I acquired a Remington 700 ADL Varmint. Yes, this is a diversion from the original, but
With the scope done I acquired a Remington 700 ADL Varmint. Yes, this is a diversion from the original, but I can’t afford a 40X and finding a 1960’s vintage Rem 700 is next to impossible. At this point I also bought a reproduction M40 stock. This stock was ‘95% inletted’ according to the sales page. This turned out to be a lie. I spend roughly 15 hours inletting this thing.
Inletting is accomplished by slowly removing wood from the bedding surface until a stress free flat bed is found. Pretty much, you dab inletting black (a kind of pseudo paint stuff, non-permanent) on your parts and sink the action into the stock. Remove the black spots and repeat until the action is securely sitting in the stock. the same method is used for fitting the buttplate. However, if the toe of the stock is long than your buttplate, you must remove wood all the way to the pistol grip to get a nice square profile. I have pictures to this part, but I can’t get my damn phone to upload them currently.
Next I had a gunsmith cut the barrel down to 24″ and put a flat crown on it. While this was taking place I started on finishing the stock. This was acomplished by hand rubbing pure boiled linseed oil into the stock once a day for about 1 1/2 weeks. Over time I’ll need to reapply it, but currently it looks great.